Mojo 基础学习 1

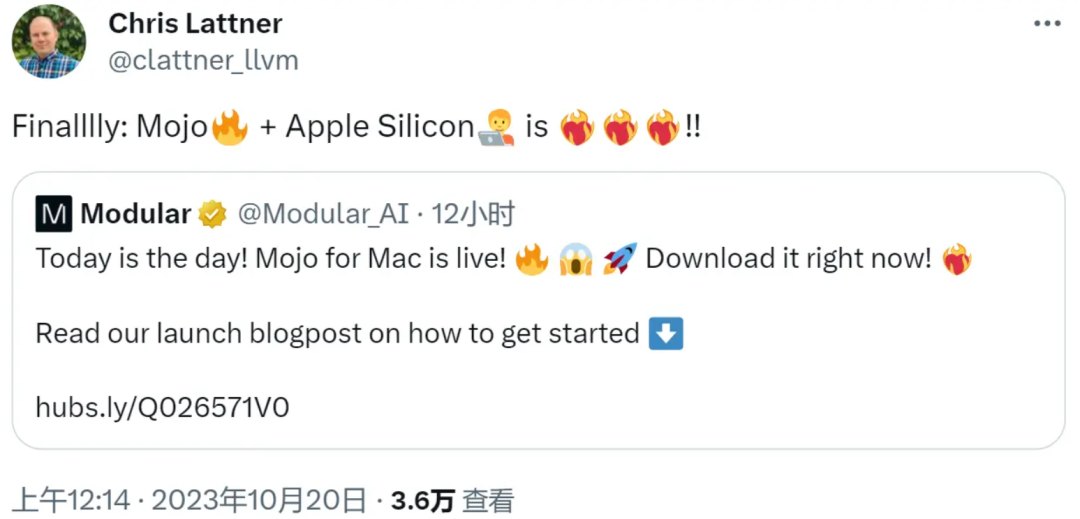
之前新闻已经大肆宣传号称比 Python 快68,000 - 90,000 倍。昨天 Mac 也开放出来,作为程序员,好像对这种新晋物种,我们天生保持着好奇心,想一探究竟,Mojo 到底是什么东西。
所以我要开始一系列 Mojo 学习之旅了。这也是我重新制作个人 Blog 的起点。未来把所以技术的内容都放到我的 Blog 上。
Mojo 一句话介绍
Mojo combines the usability of Python with the performance of C, unlocking unparalleled programmability of AI hardware and extensibility of AI models.
Available on Mac 🍎, Linux, and Windows (WSL)
今天我们使用 WSL 安装一遍,先来一个 Hello World
安装
只要轻松 6 步骤:
// 1. Install VS Code, the WSL extension.
// 对于我这种级别的码农,早就下好 VS Code
// 2. Install Ubuntu 22.04 for WSL and open it.
// 2. 不巧的是,我安装的是20.04版本,应该不受影响
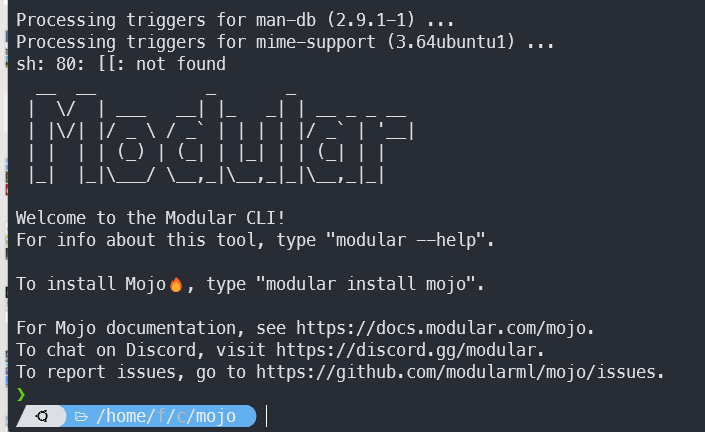
// 3. In the Ubuntu terminal, install the Modular CLI:
// 3. 安装 Modular 命令行工具:
curl https://get.modular.com | sh - && \
modular auth mut_140327f8af5d4547b2ce247def012474
// 4. modular install mojo
// 4. 开始安装 Mojo SDK了
modular install mojo
// 5. 配置.zshrc环境
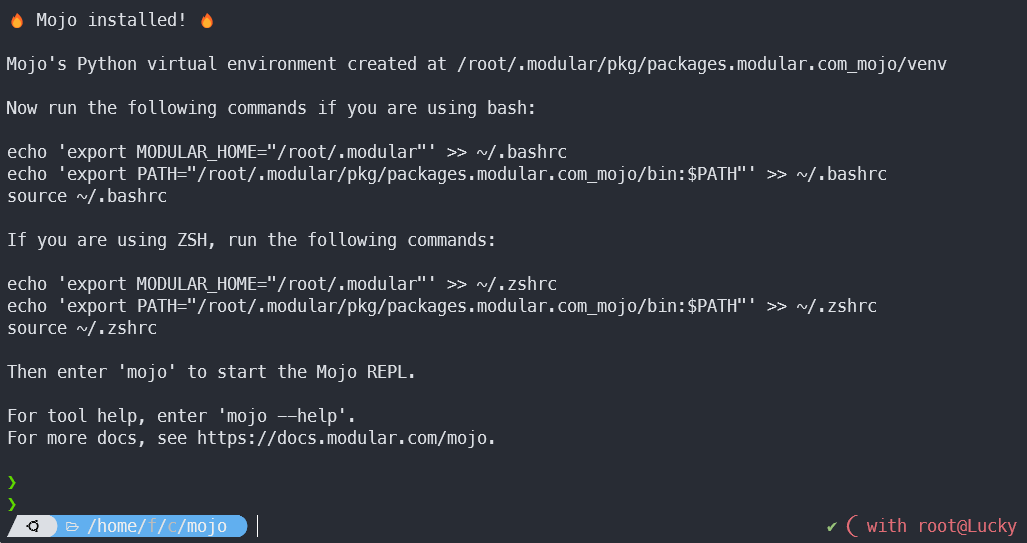
执行命令行mojo看看

Well Done!
Hello World
创建 hello.mojo 文件,并用 VS Code 打开,我们需要安装 Mojo 扩展。
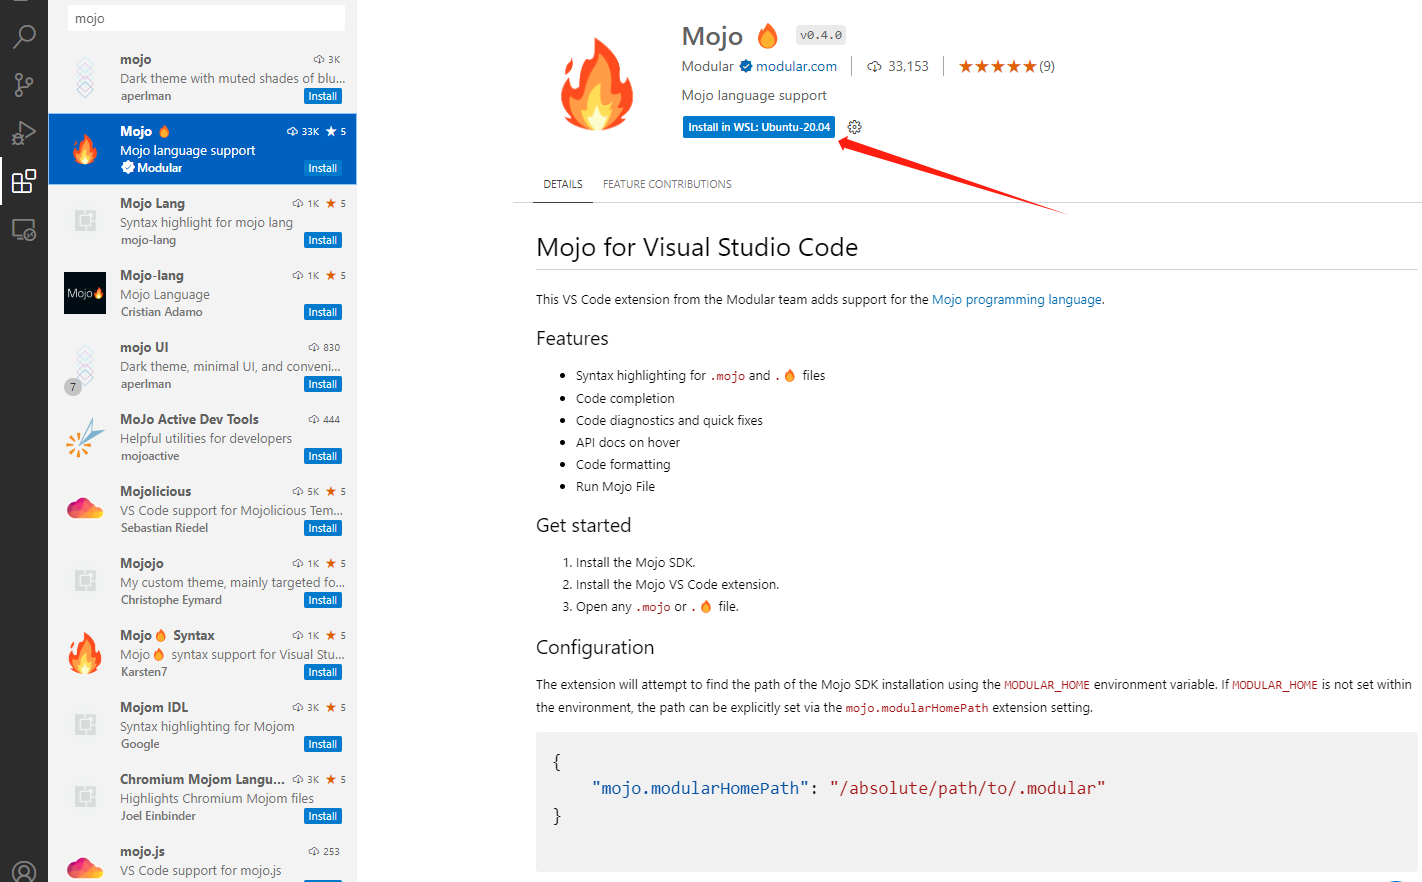
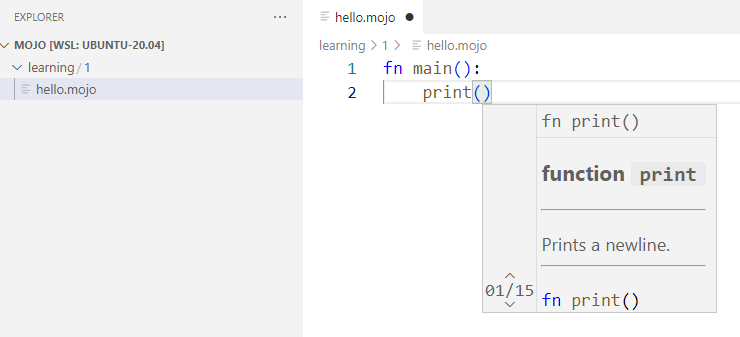
开始手敲进一个 Hello, Coding!:
fn main():
    print("Hello, Coding01!")
在命令行里输入指令:mojo hello.mojo:

同时,我们可以编译并运行。
mojo build hello.mojo
多了一个可执行文件:

运行看看:

完美。
不成文的小结
对新语言的学习,基本都是从配置环境开始,从第一条语句执行开始,姑且就算我们开始了 Mojo 的学习之旅。
推荐看看官方 Docs,也是最好的入门渠道:https://docs.modular.com/mojo/manual/get-started/hello-world.html。
如果觉得文章内容对您有用 打赏

