One of my favorite projects in the Laravel ecosystem is Echo. Echo enables real-time web applications through the use of WebSockets and hooks directly into Laravel's event broadcasting features. This means developers can use a familiar PHP API to send real-time data. A very common use-case for this type of functionality would be a notification or chat system.
官方文档推荐使用Pusher Channels和Ably ,或者开源的 laravel-websockets 和soketi驱动程序。
今天利用最简便的「四」步,走一遍代码集成Ably来使用Laravel Broadcasting。
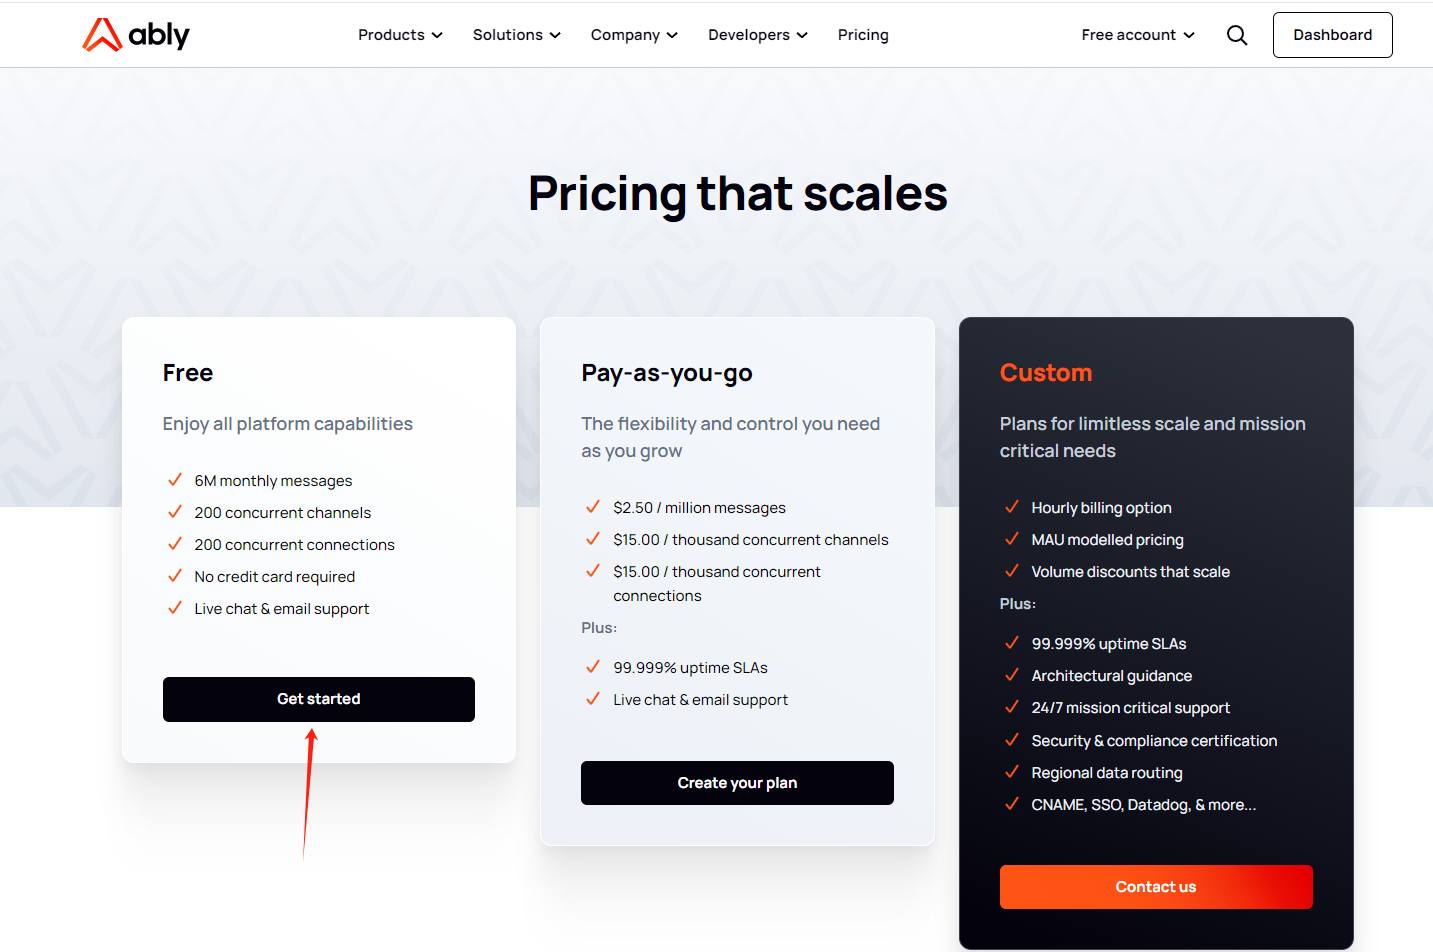
作为个人项目,或者测试使用,完全可以选择 Free 方案。
安装 Ably 服务端
第一步,安装 Ably 服务端插件。因为我们是使用 Laravel 框架,所以推荐使用这个插件:
composer require ably/laravel-broadcaster
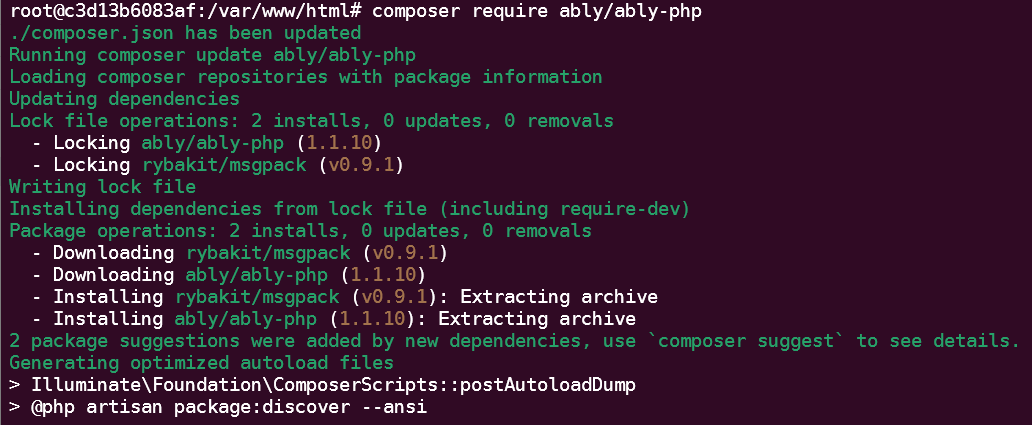
其它 PHP 框架可以直接用:
composer require ably/ably-php
接下来,在 config/broadcasting.php 配置文件中配置 Ably 凭据。我们可以在 .env 里配置我们的 ABLY_KEY
环境变量,这过程基本不用操作 config/broadcasting.php 文件:
BROADCAST_DRIVER=ably
ABLY_KEY=ROOT_API_KEY_COPIED_FROM_ABLY_WEB_DASHBOARD
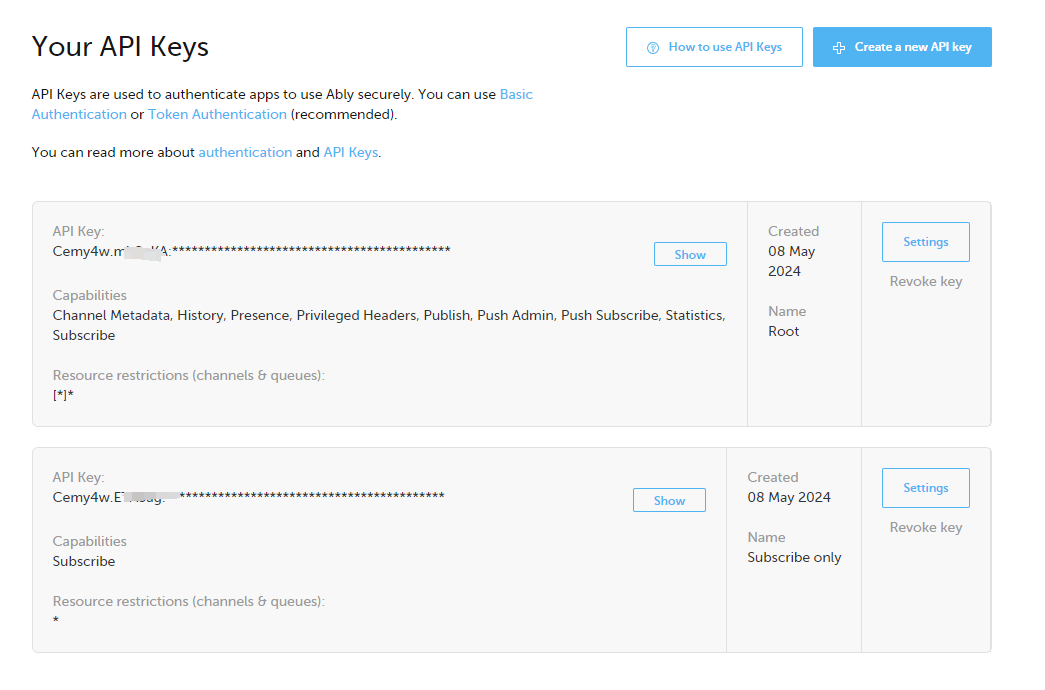
其中,ABLY_KEY 可直接从 ably 应用里得到。
创建广播事件
第二步,创建一个广播事件,测试看看数据能不能到达 Ably 服务器。
我们在后端添加一个动态消息推送事件MessageCreatedEvent,并继承ShouldBroadcast。
php artisan make:event MessageCreatedEvent
class MessageCreatedEvent
{
    use Dispatchable, InteractsWithSockets, SerializesModels;

    /**
     * Create a new event instance.
    */
    public function __construct()
    {
        //
    }

    /**
     * Get the channels the event should broadcast on.
     *
     * @return array<int, \Illuminate\Broadcasting\Channel>
     */
    public function broadcastOn(): array
    {
        return [
            new Channel('coding01_message'),
        ];
    }
}
指定广播数据:
/**
 * 指定广播数据。
 *
 * @return array
 */
public function broadcastWith()
{
    // 返回当前时间
    return ['data' => Carbon::now()->toDateTimeString()];
}
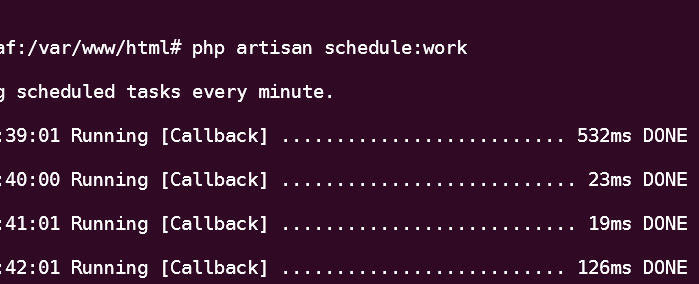
然后我们就可以做一个定时任务了,让它每隔10分钟,广播一次:
protected function schedule(Schedule $schedule)
{
    // 15. 每隔一分钟执行一次
    $schedule->call(function () {
        broadcast(new RssCreatedEvent());
    })->everyMinute();
}
客户端接受
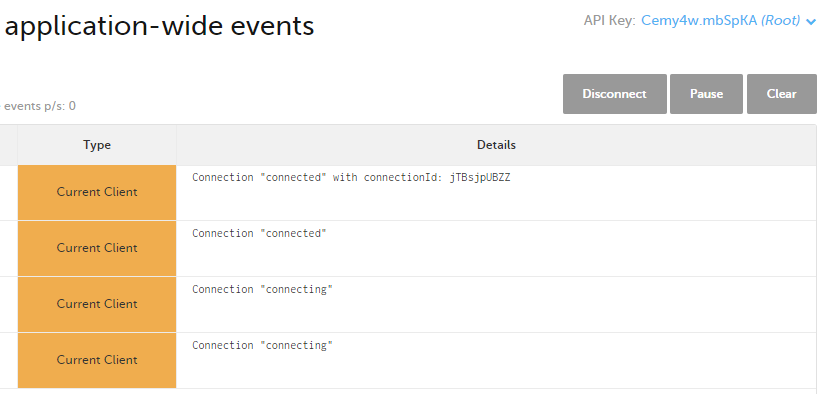
第三步,在我的客户端 Nuxt 网站上安装接受插件:
bun add ably
在我的首页 script 加上使用代码:
import * as Ably from 'ably'

const client = new Ably.Realtime('YOUR_ABLY_KEY')
console.log(client)
client.connection.on('connected', () => {
  console.log('Connected to Ably!')
})
const channel = client.channels.get('coding01_message')
channel.subscribe(message => {
  console.log(message)
})
onMounted(() => {
  client.connection.on('failed', () => {
    console.log('ably failed')
    client.connect()
  })
})
onUnmounted(() => {
  client.close()
})
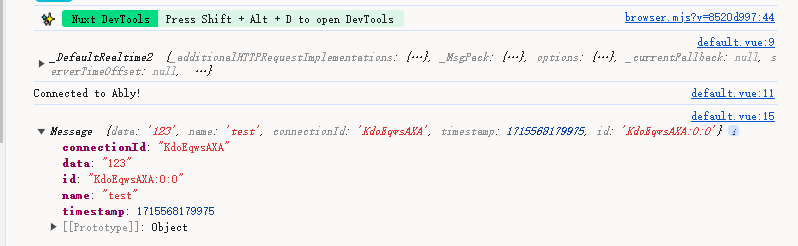
在 Ably 后台发一个消息体试试:
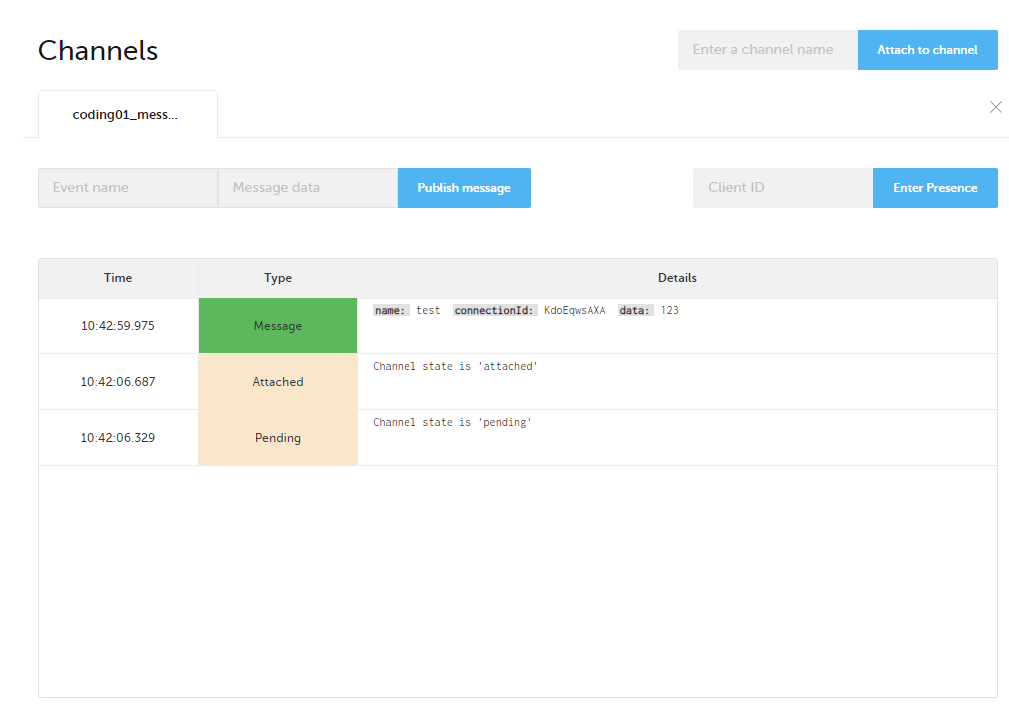
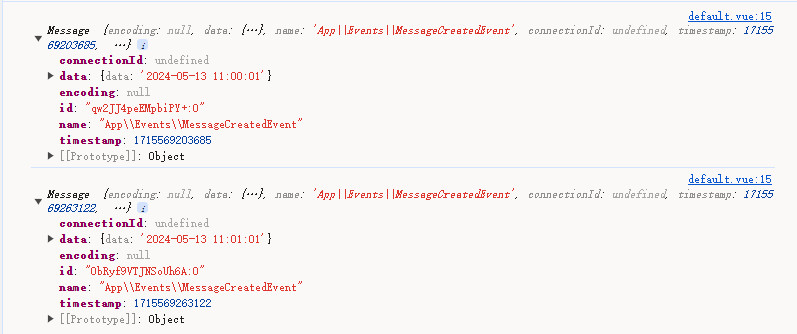
我们可以接收了:
第四步,联调。我们联调后端和客户端,这里需要注意的是在客户端上绑定的事件名称需要加上public等前缀,如:“public: coding01_message":
至此,整个后端和前端借助 Ably 打通。下一步就是结合自己的业务需要去增加业务代码和安全逻辑处理了。
如果觉得文章内容对您有用 打赏
